
")


My husband and I are both fans of the traditional moulding found in many older homes. Detailed trim work always catches my eye and it is a fairly simple way to really elevate the feel of a space. In our current home our dining room had wainscoting on the bottom half of the walls that we loved when we moved in. A few months later, we decided to extend the wainscoting to the rest of the rooms downstairs in our house and up the stairs to our second floor.
Once we started working on the bedrooms in our home, trim seemed like a great way to “dress up” each room. We have received quite a few requests to document how we plan out the trim in each project so instead of trying to explain it via Instagram messages, I figured a blog post was a bit easier to read.
This is the first post in the series – all about how to plan and measure the moulding for your room! Head to part 2 for how to install, caulk, paint and finish!

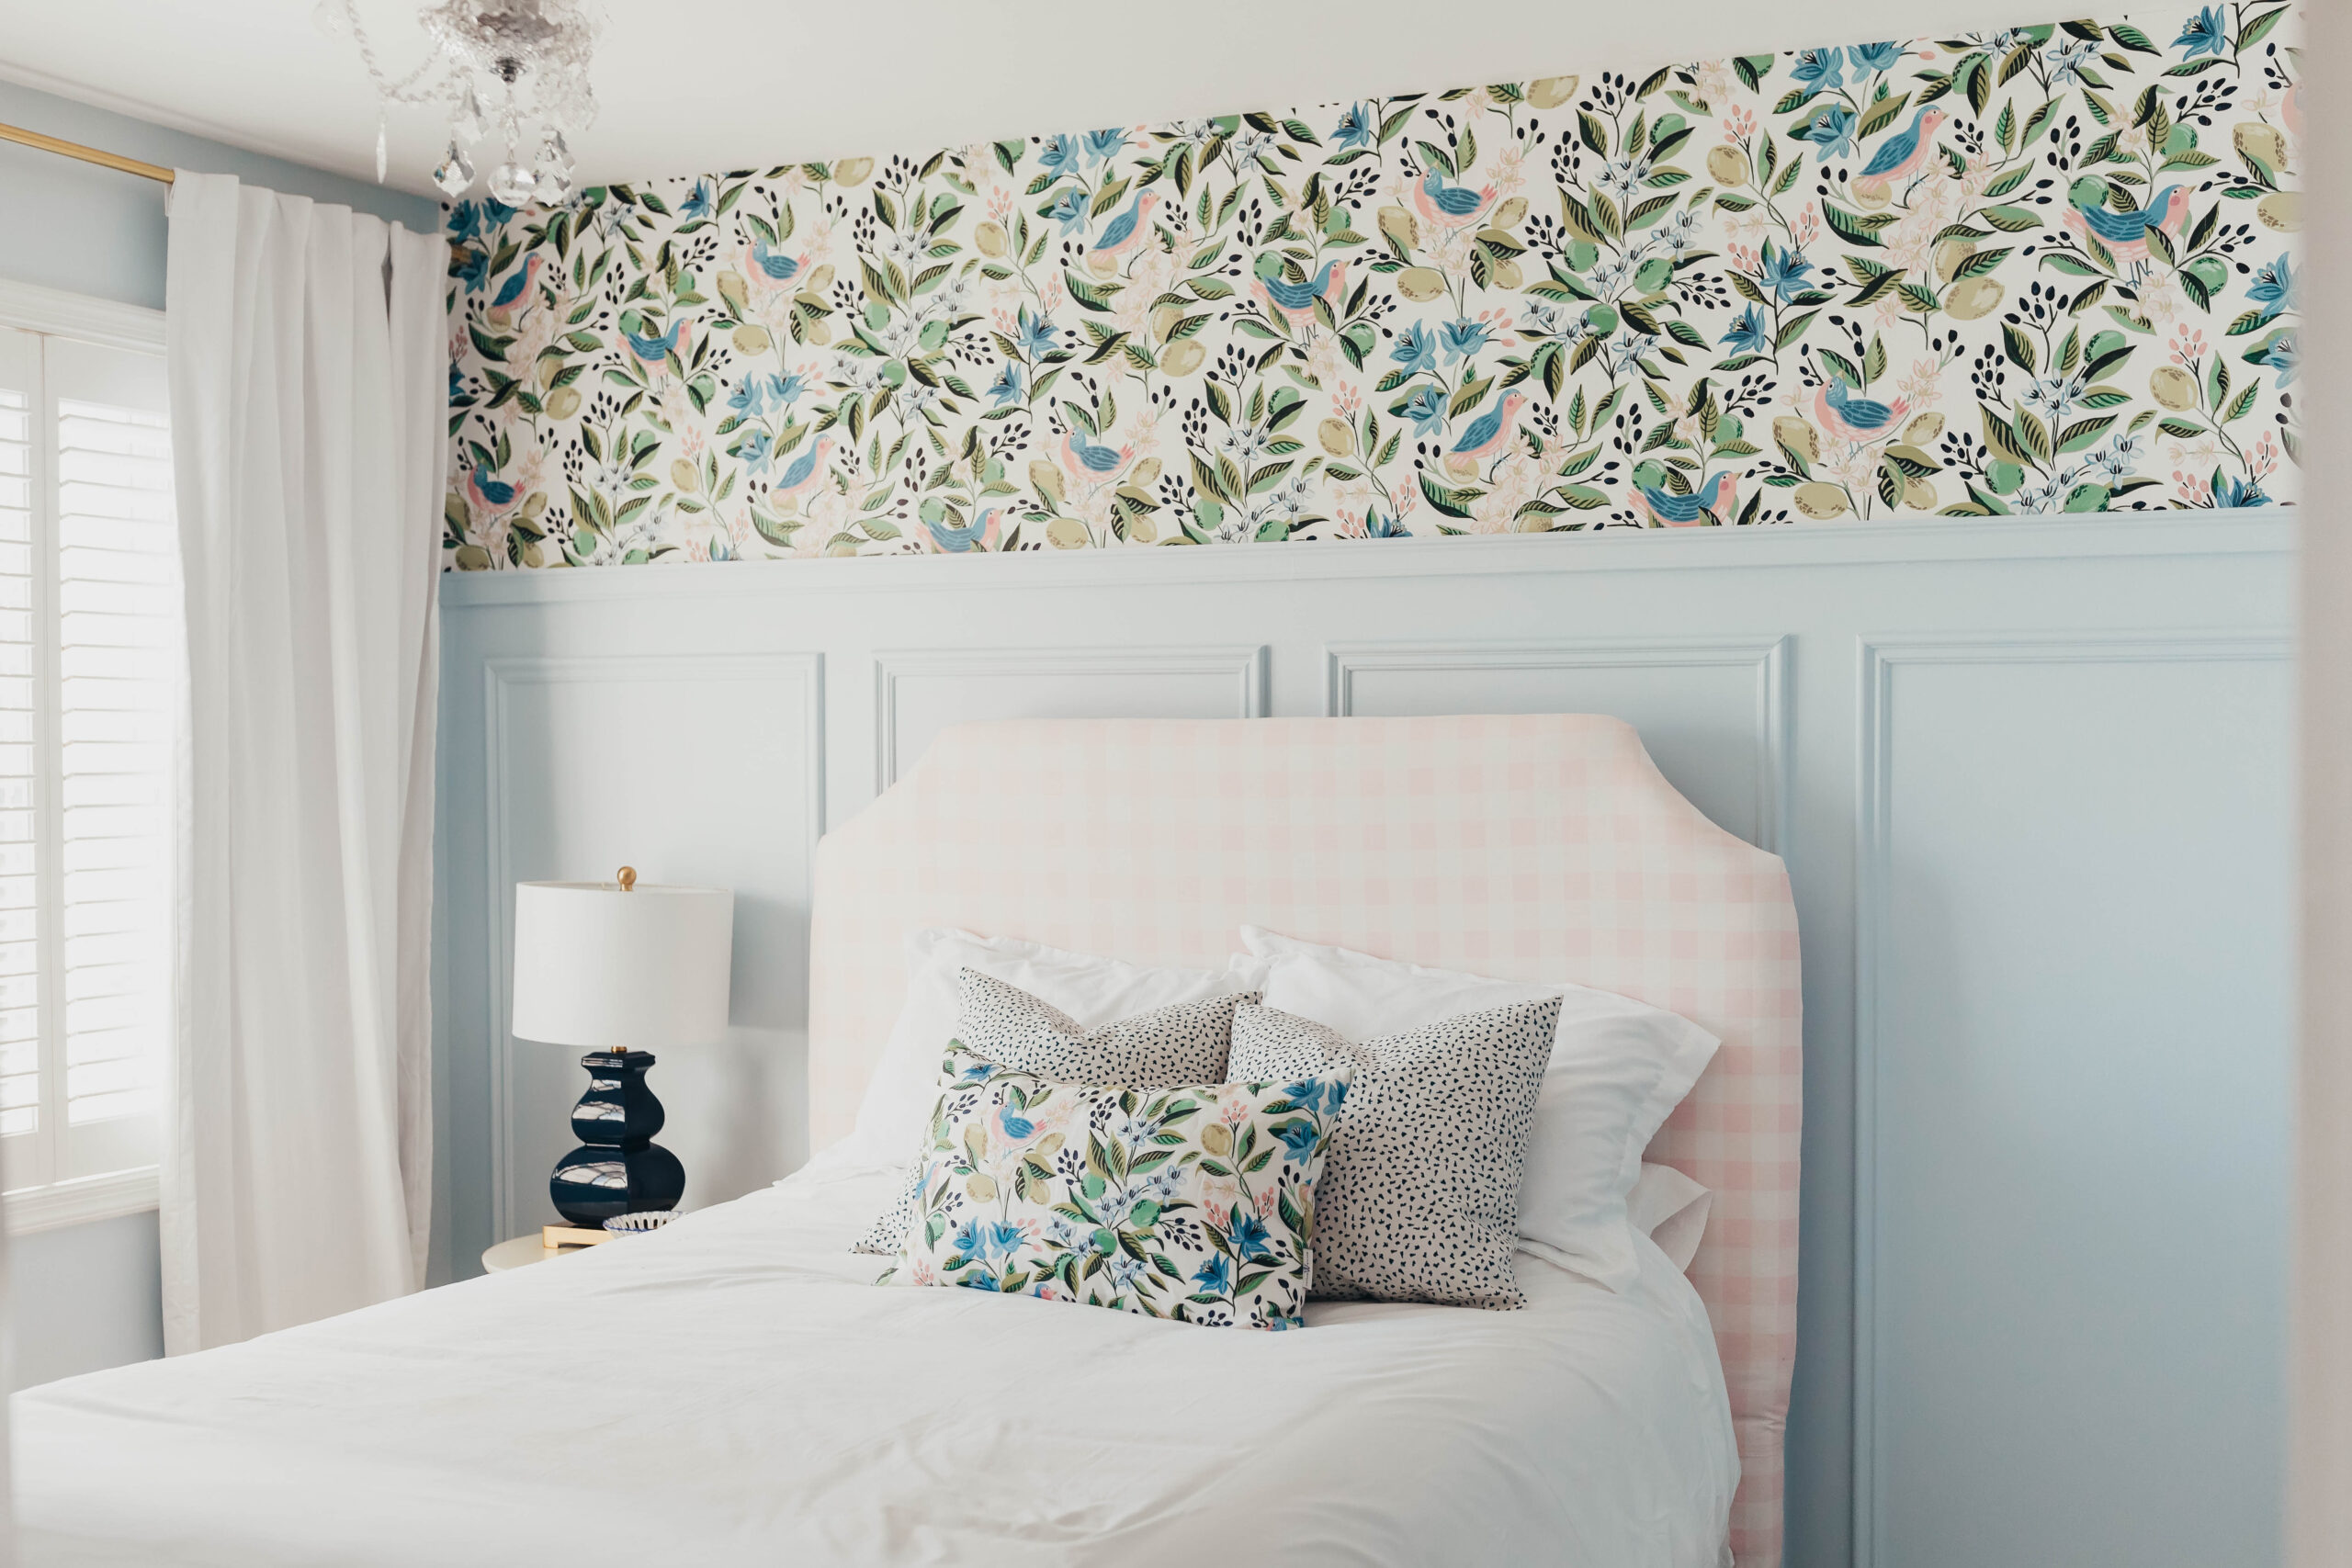
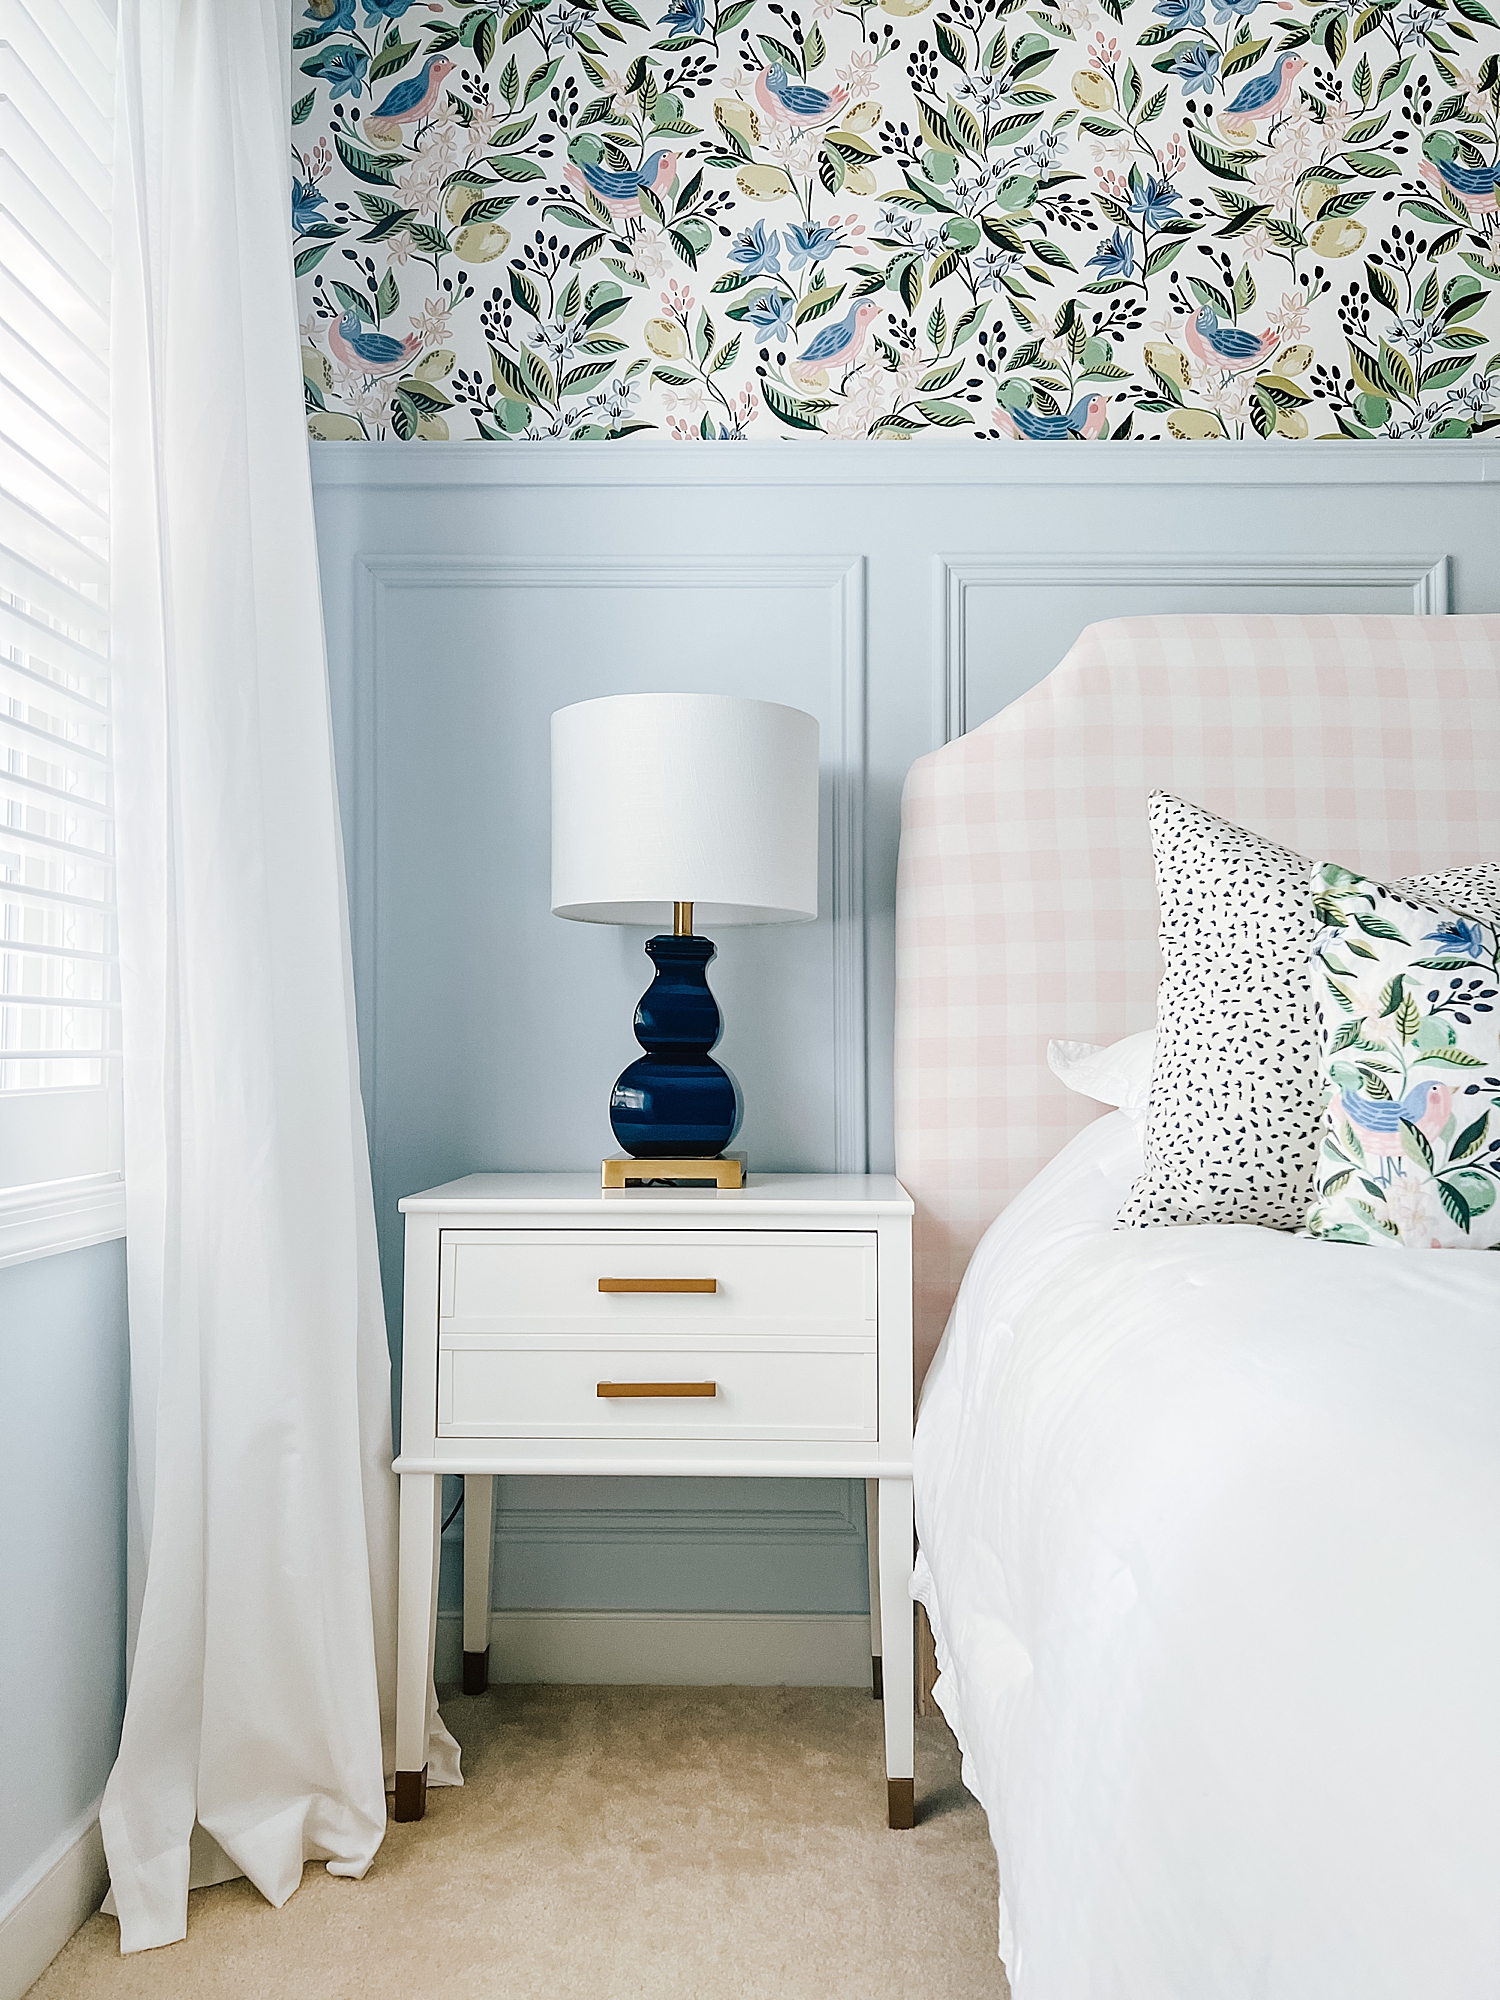
For the new baby’s nursery, we decided to update the room with some more traditional wall moulding as well. The walls originally had board and batten trim on the walls which any normal person would have left. However, we decided it was a little too rustic compared to the rest of the house so we ripped it down and started over. I don’t recommend. Take a peek at the mess below – so much caulking and sanding.

Deciding on Size
The first step in installing wall moulding is to measure your space and decide on the height and width of each trim box. Some stores sell pre-made boxes you can use but if you have a saw, it is almost always better to cut them on your own. Each wall will be slightly different and I prefer to change the box sizes accordingly so you don’t end up with any partial boxes on a wall.

Here is a basic example of how we calculate the size of the boxes along each wall. If you have wainscoting in other rooms in your house, you can also start with aiming to keep the size similar to those spaces. We start by doing one wall at a time – one without windows or doors is the easiest to start with. As you get to walls with windows and doors, I always make that particular trim box the same size as the window/door above or below it. I will show an example of that shortly!
Doing the Math
Start with the length of the wall and try to visualize how many boxes you would like on that wall. Once you have one wall done, you will have an idea of approximately how wide you will need to keep the boxes to keep them all visually similar. (Our trim boxes for each wall usually vary by about an inch or so but it isn’t noticeable to your eye.) Feel free to calculate a few at a time to confirm that they all make sense. It is much easier to do this on paper than change it after you start cutting.
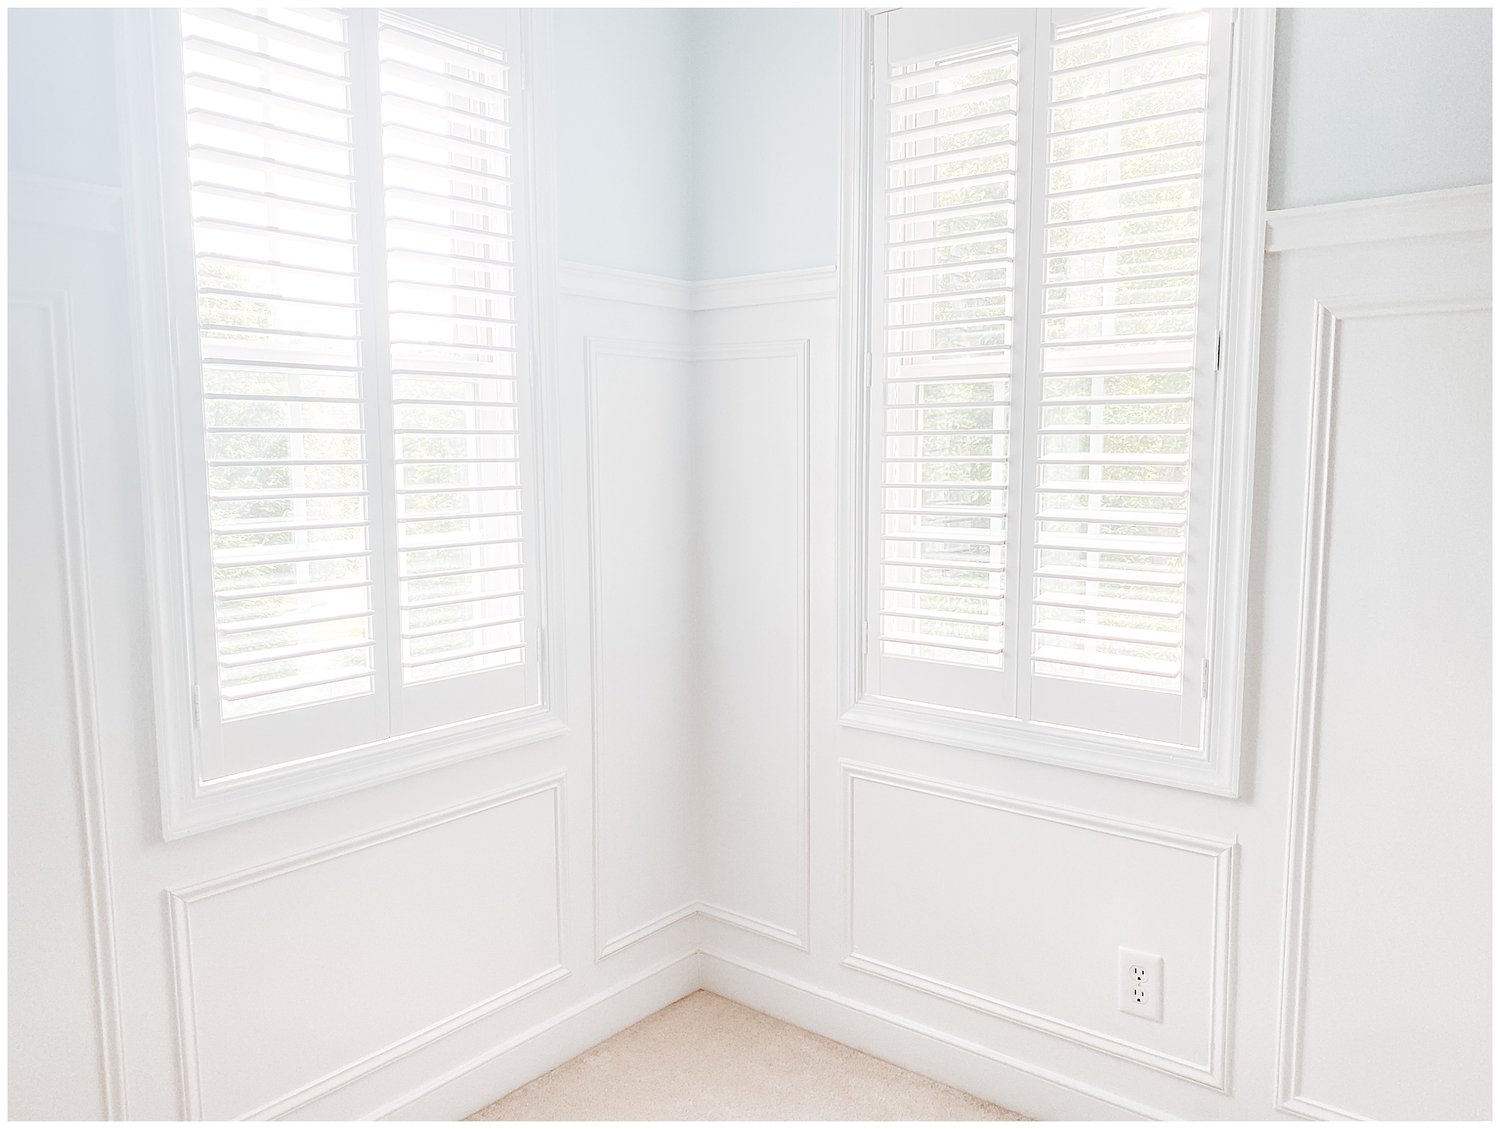
Consider outlets or light switches! Once you decide on the spacing and width of your trim boxes, make small pencil marks on your walls so you can see where the trim will be attached in each spot. This will help you identify if you need to make changes because of outlets or light switches. We often move the outlets but you can also adjust your trim to avoid this. If you decide to move an outlet, there are plenty of Youtube videos with basic instructions like this one here.
Take the width of the wall and subtract the amount of dead space that will appear in between each box and on the ends. If you have three boxes, you will have 4 spaces of “dead space,” shown in the below diagram. We typically use a 3 inch space on each side of a trim box. However, if you have trim in other rooms, you may want to adjust your spacing to match your existing trim. Once you subtract that amount of space from the width of the wall, you have your remaining space for the boxes.
Divide that number by the number of boxes you are planning to create and you will have your width per box. For this example, we used a 32 1/3 inch width for the boxes. For walls where you do not have to work around windows or doors, your heights will obviously all be the same.

For walls where you encounter a corner or a window, your widths of the boxes will likely be a bit different. For this example, we use the same formula as above but measure from one corner of the wall to the edge of the window to find the size of the full size boxes. For the trim underneath the window, I recommend making it the same width as the window. If you have a double or triple window, consider making 2 or 3 boxes beneath the windows with a 3 inch gap between each.

I usually follow a similar plan when I encounter an awkward corner. My preference is to not have a box that needs to turn a corner but as you can see with this double window corner, sometimes it looks better than two really skinny boxes.
Once we have all of our measurements done, we make a list of all of the different length pieces we need to cut. We start by cutting all of the vertical pieces that are the same length – there will be a lot of them! But we will cover that in the next post (part 2) about how to cut and install all of the moulding! Find part 2 here shortly.
P.S. A note on crown moulding
If you’re planning to install crown moulding, I highly recommend this video. The crown moulding is usually the trickiest part and is not necessary when installing traditional wainscoting on the lower half of a wall. If you are doing full picture frame moulding, I think the crown helps finish it off at the top of the wall. We struggled with crown moulding last time we attempted it so there won’t be a DIY from us on that just yet. ?


")

")


