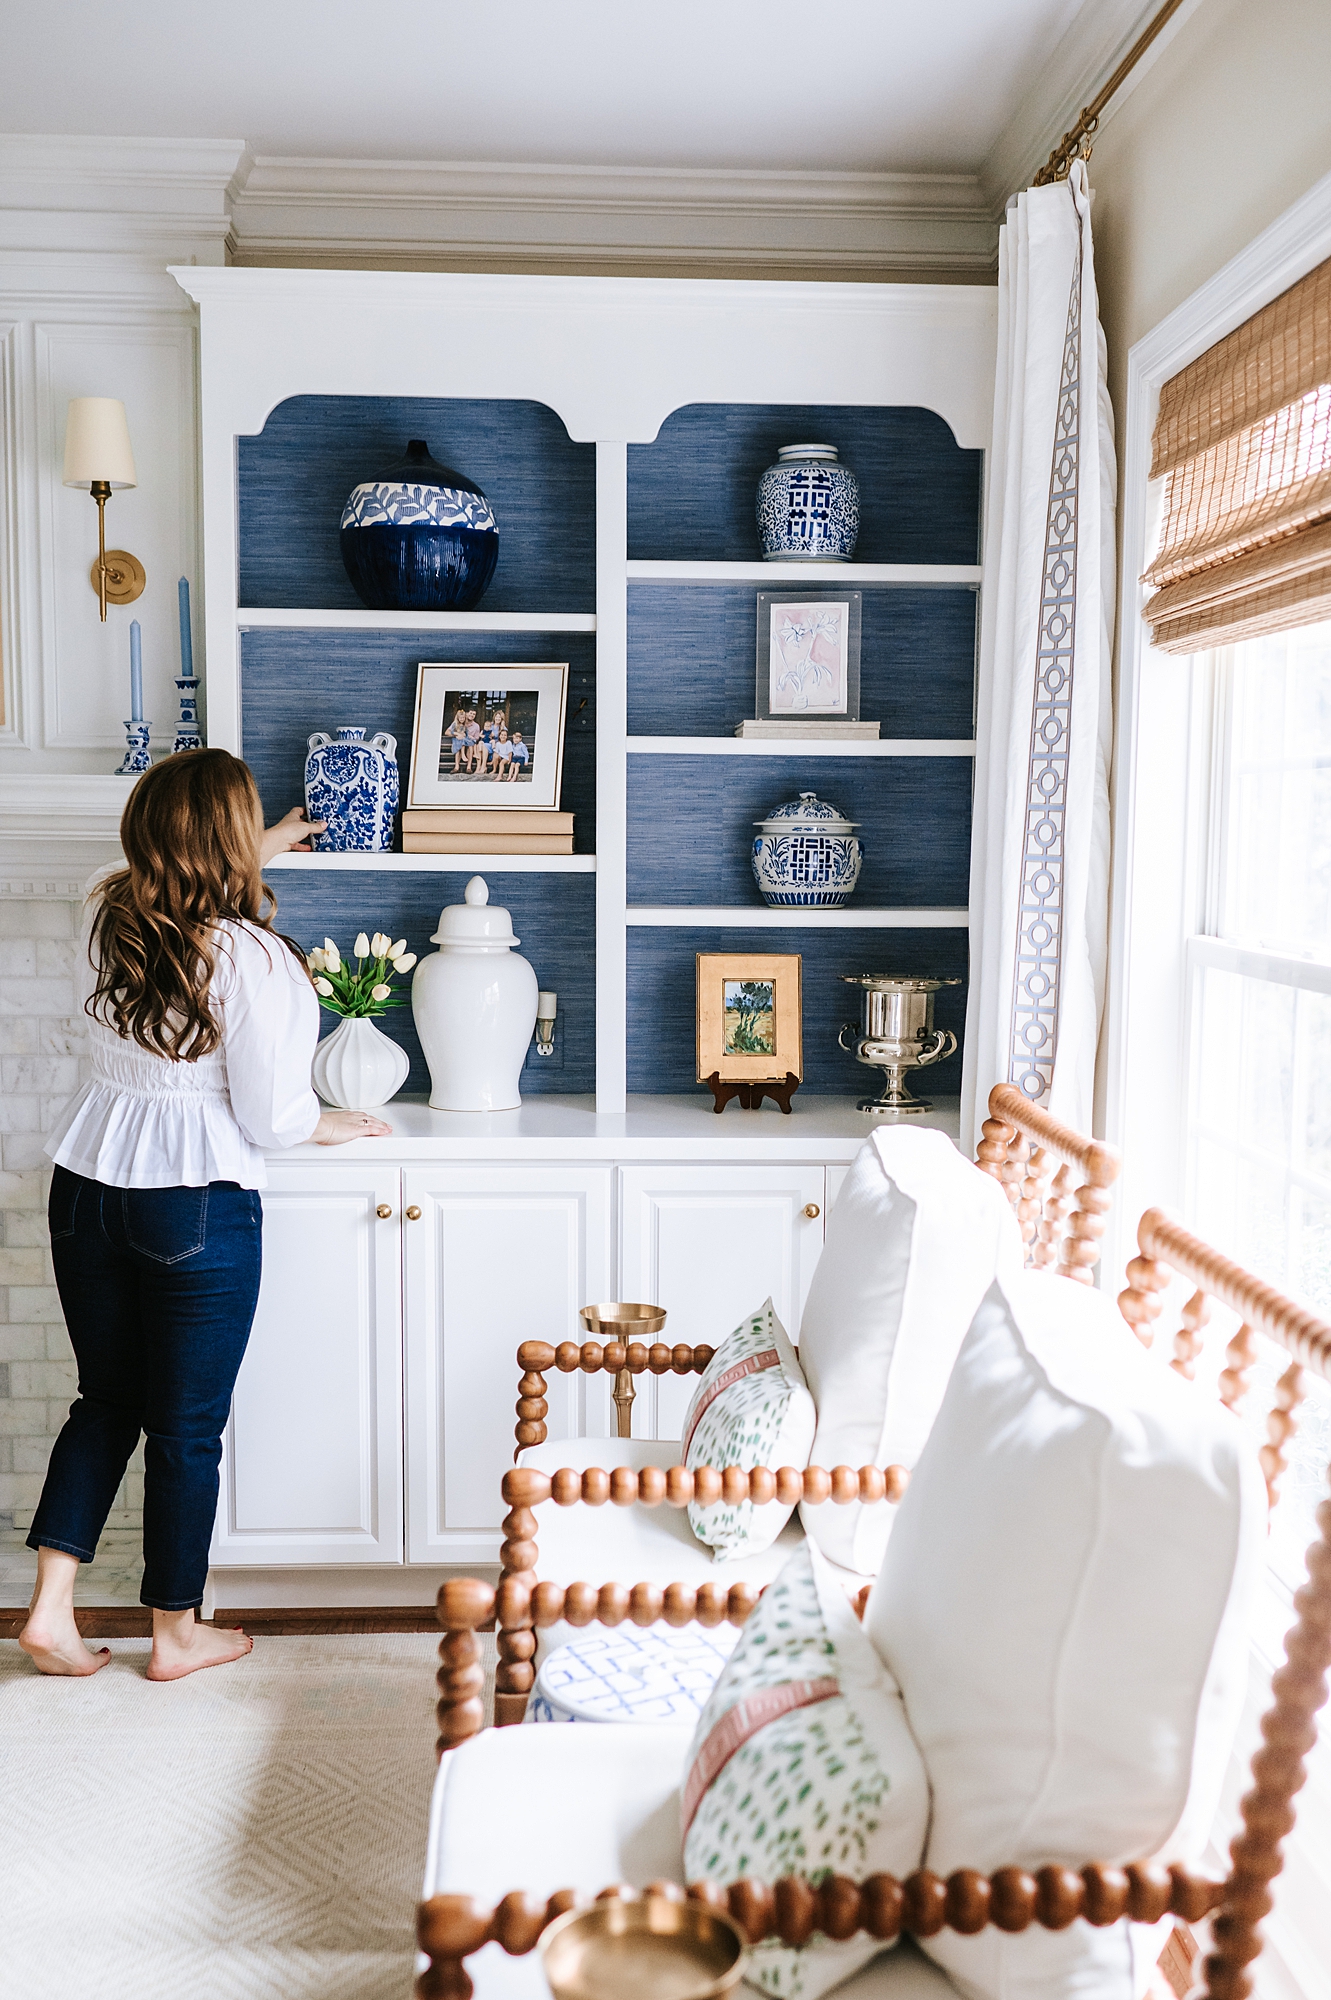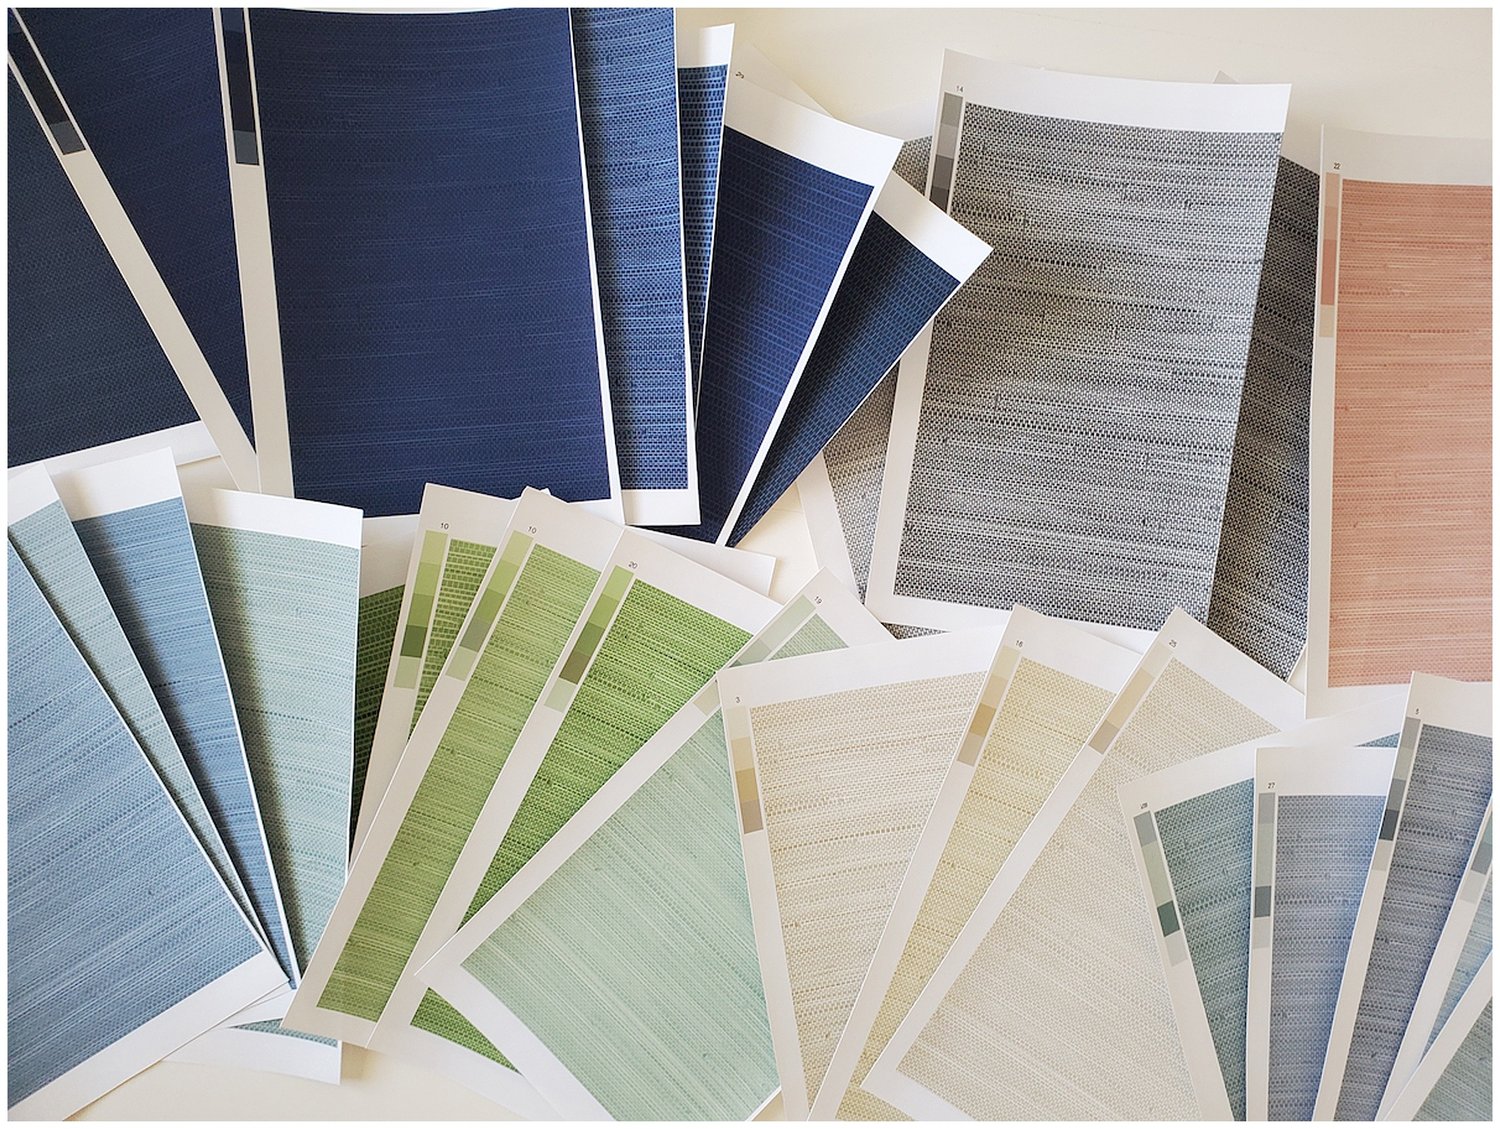
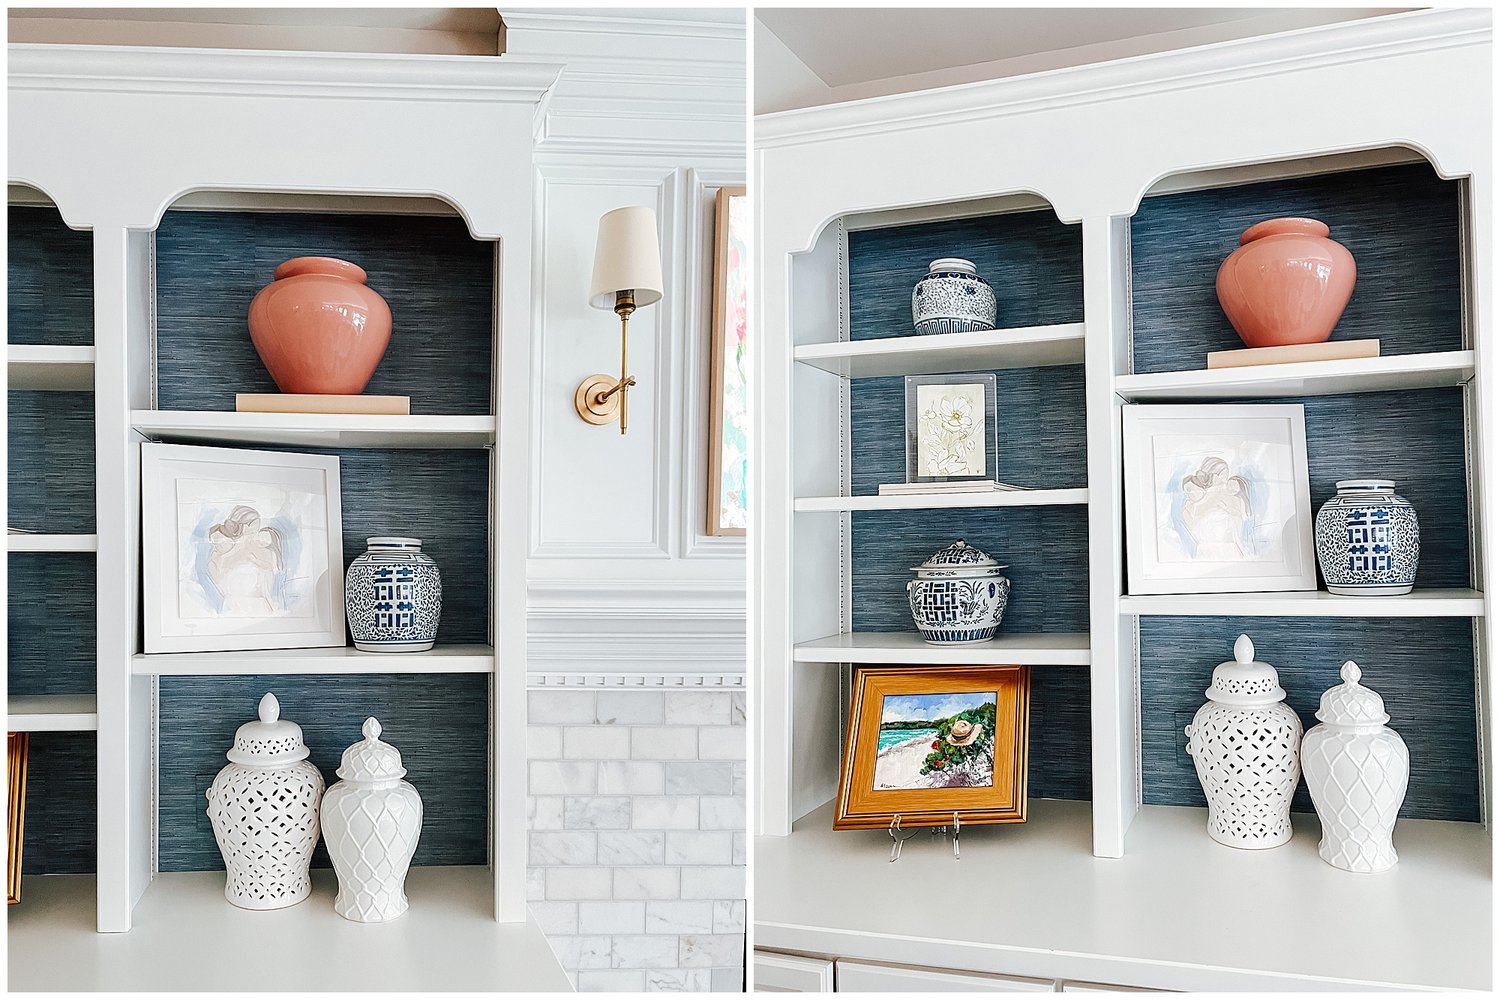
When I saw Society Social’s new wallpaper line, I was smitten. I am a huge fan of grasscloth wallpaper but one roll can run you upwards of $300-$500 and with kids, it just never felt like a good idea. Their new line is faux grasscloth so the actual material is vinyl but it looks nearly identical.
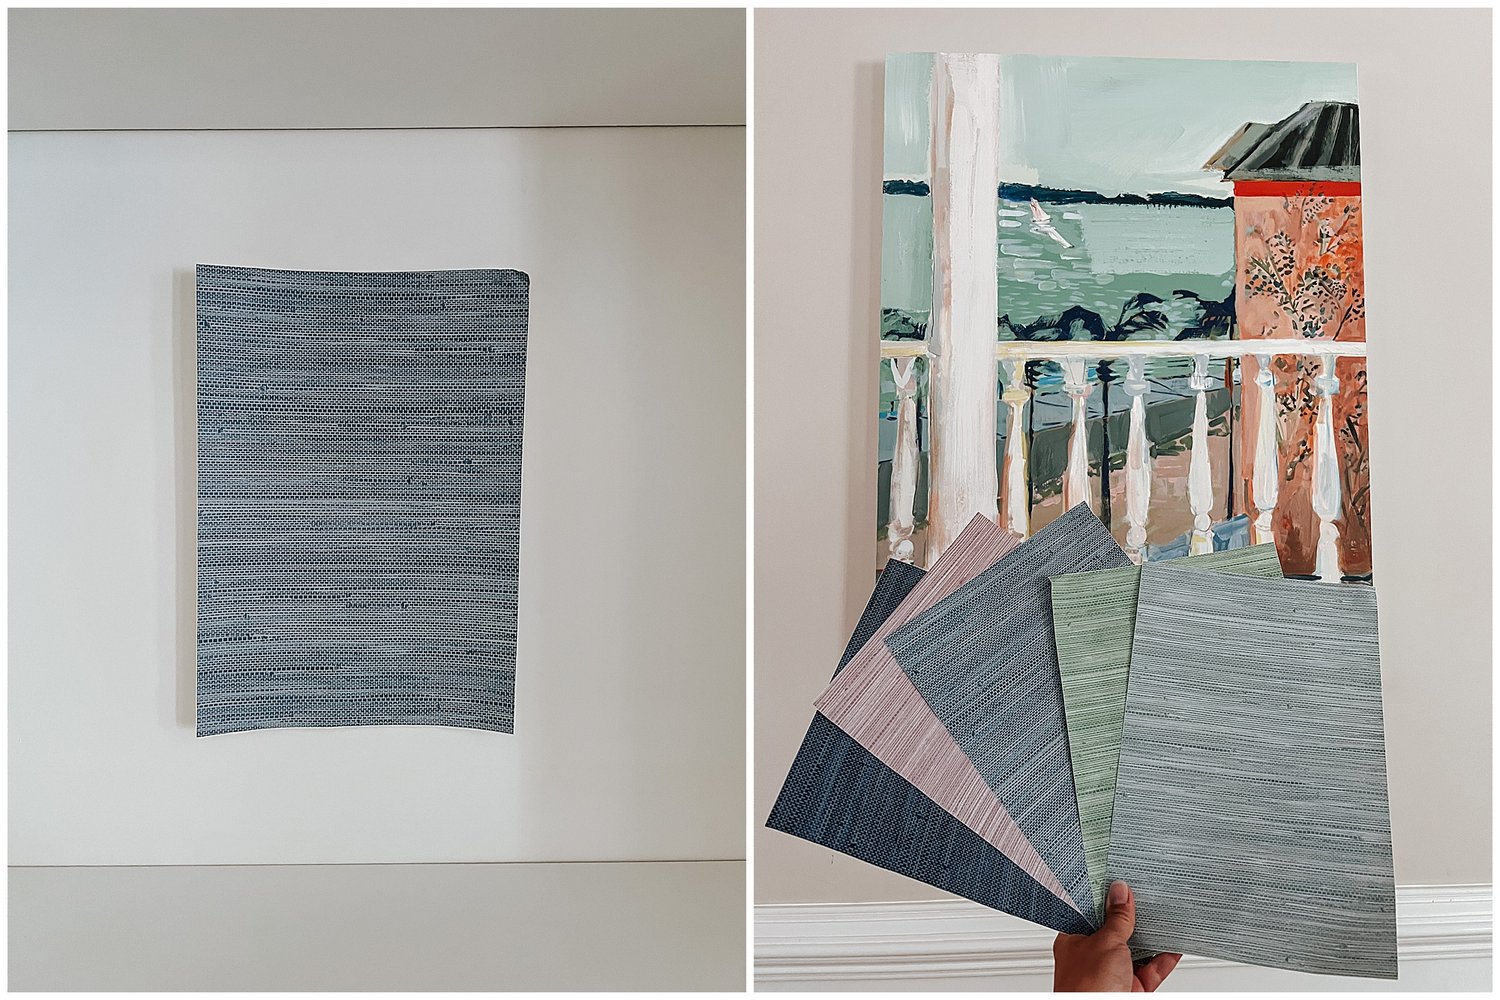
I started with samples of 5 different colors and ultimately settled on Mineral Blue for the back of our built ins and the Navy to use to wrap on a DIY console table.
General Thoughts
The installation process was fairly simple. I have hung other types of wallpaper before – both pre-pasted and unpasted – and this wallpaper gave me less anxiety while installing than the others. However, since it is peel and stick, you have to work to get your corners really accurate because if you find out you are off by just a little bit as you move down, you have to remove the entire piece and start over.
Luckily, grasscloth wallpaper is pretty forgiving because the texture and seems are part of its charm so it removes the pressure of perfectly matching any patterns.
Installation
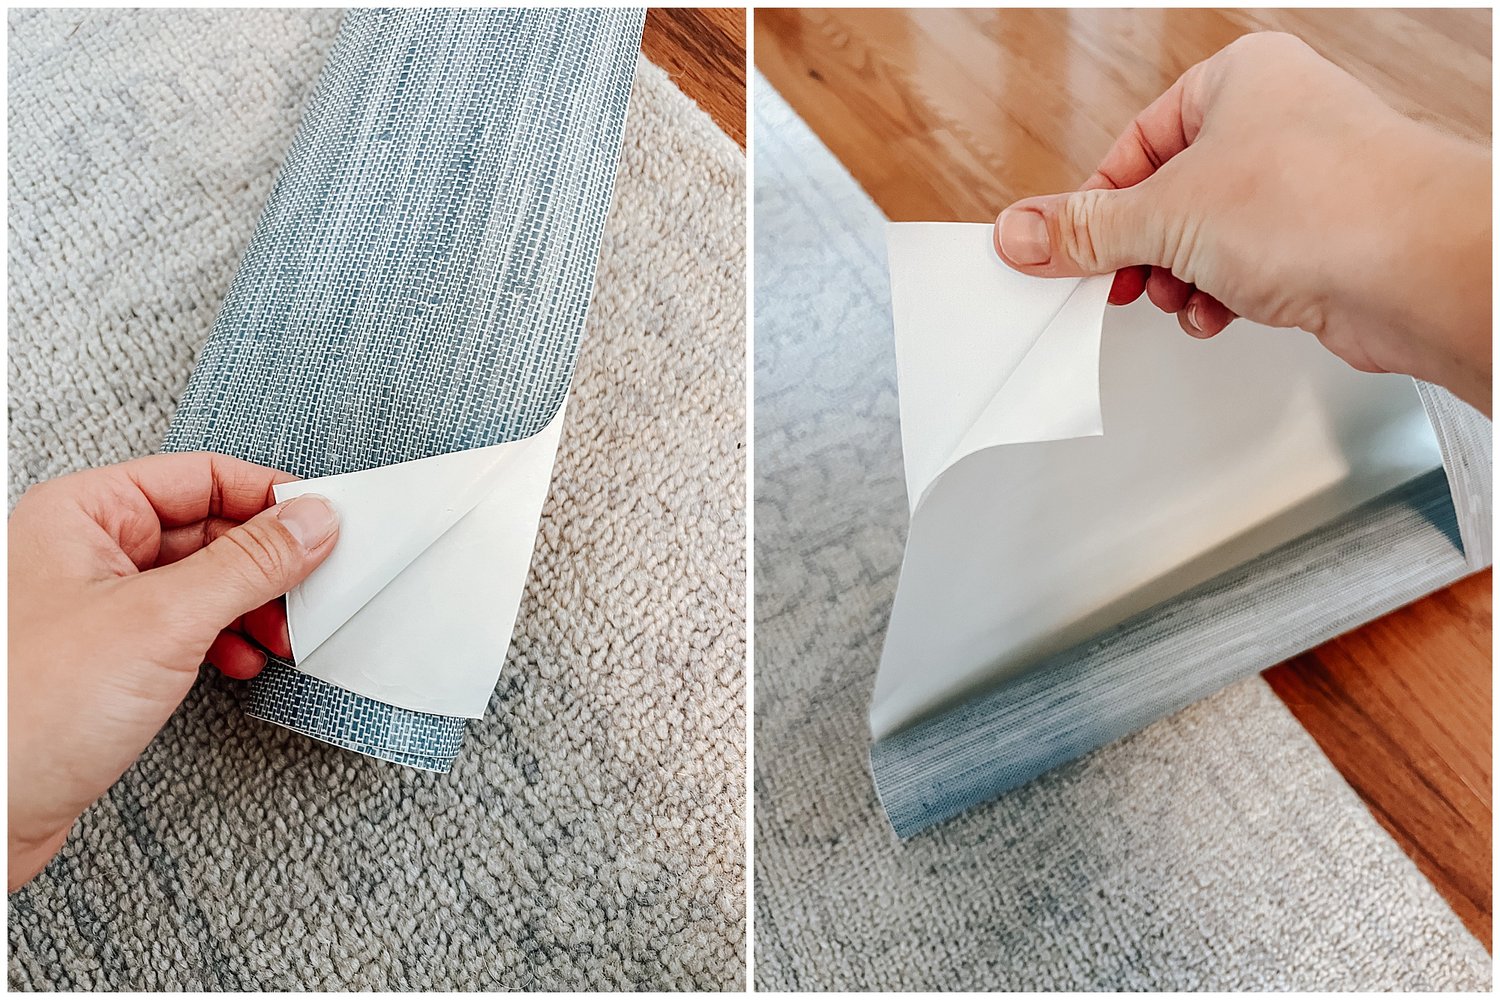
To install on the back of our shelves, I first measured the height and width of each shelving section. I laid the wallpaper on the floor upside down to mark and cut it from the back. I cut the first piece about 2 inches longer than I needed so I had room to trim the ends into a straight line when I was finished. Next, I began rolling the back sheet off from the top and slowly worked my way down, pulling the liner a bit at a time.
My first few tries came with a bit of frustration but I eventually got the hang of it and things moved much quicker from there.
Each shelving section used about a width and a half of the roll so for the second piece I had to cut the length and width. I still left about an inch and a half so the two pieces could overlap. The instructions recommended this so that you do not have gaps when the paper may constrict or expand over time.
There were a few places where the paper would bubble so I used a smoothing tool to try my best to get them out. I was able to remove most of them but lost my patience in some sections. Luckily, because of the texture the air bubbles are not noticeable.
Once all of the paper was hung up, I used a box cutter to trim the ends and create a finished straight line.
Difficulty
Overall, I would say this is a good project for a DIY beginner. Bring your patience for the first few tries but you should figure it out fairly quickly. Knowing you can always remove the paper and re-align it is much less stressful than hanging a pasted wallpaper with a pattern – which I suggest leaving to the professionals.
Details
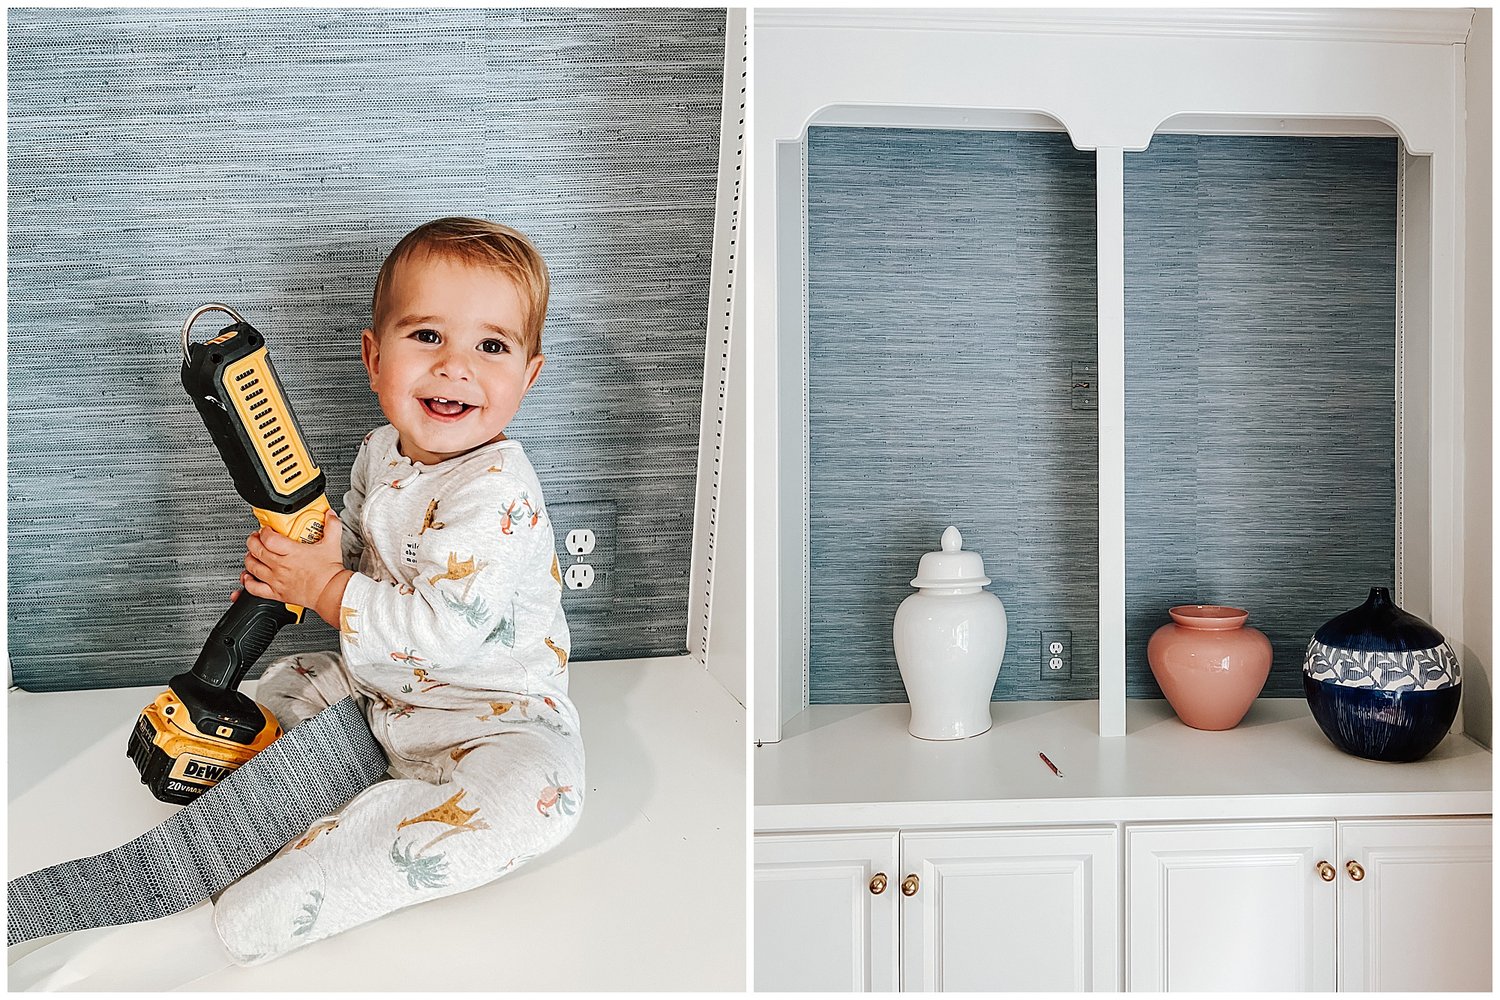
I used two rolls for the built ins and had plenty of extra to wrap the outlets and light switch covers. You can see that helped a little with their appearance – look behind John Reid in the image above.
If you have removable shelves, it is definitely easier to remove the shelves before installing. This gives you the flexibility to move the shelves around down the road and involves much less cutting!
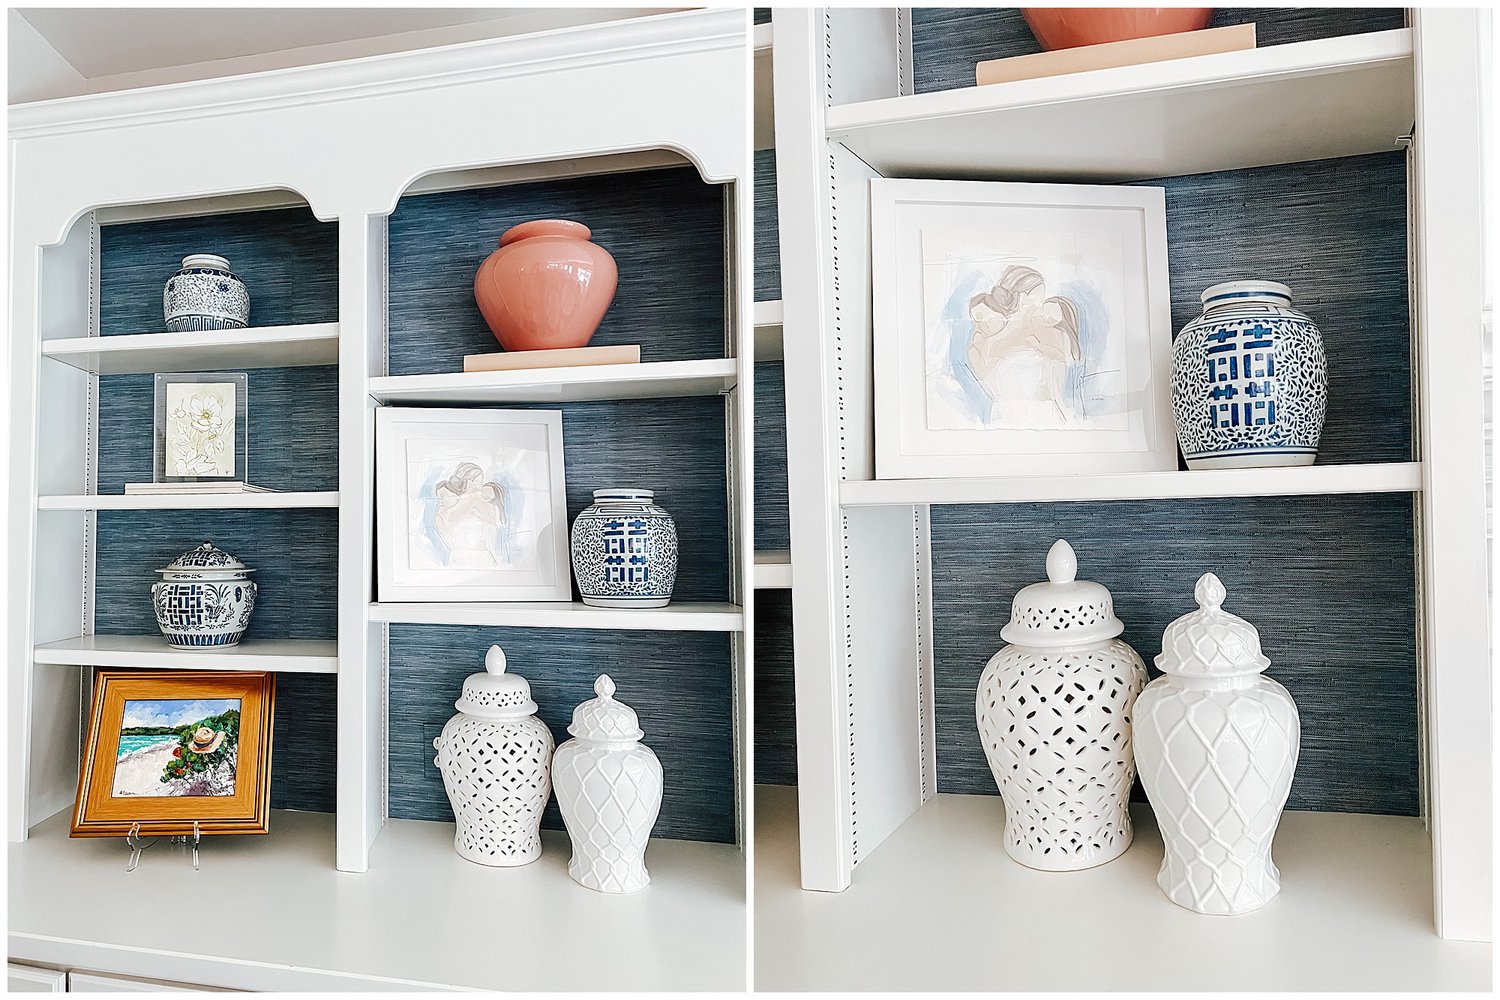
The rest of the room is still a bit under construction. Fun fact, within 30 minutes of finishing this project, my husband ripped our fireplace surround off the wall and began demoing all of the tile. We quickly moved from one project to the next. 🤪
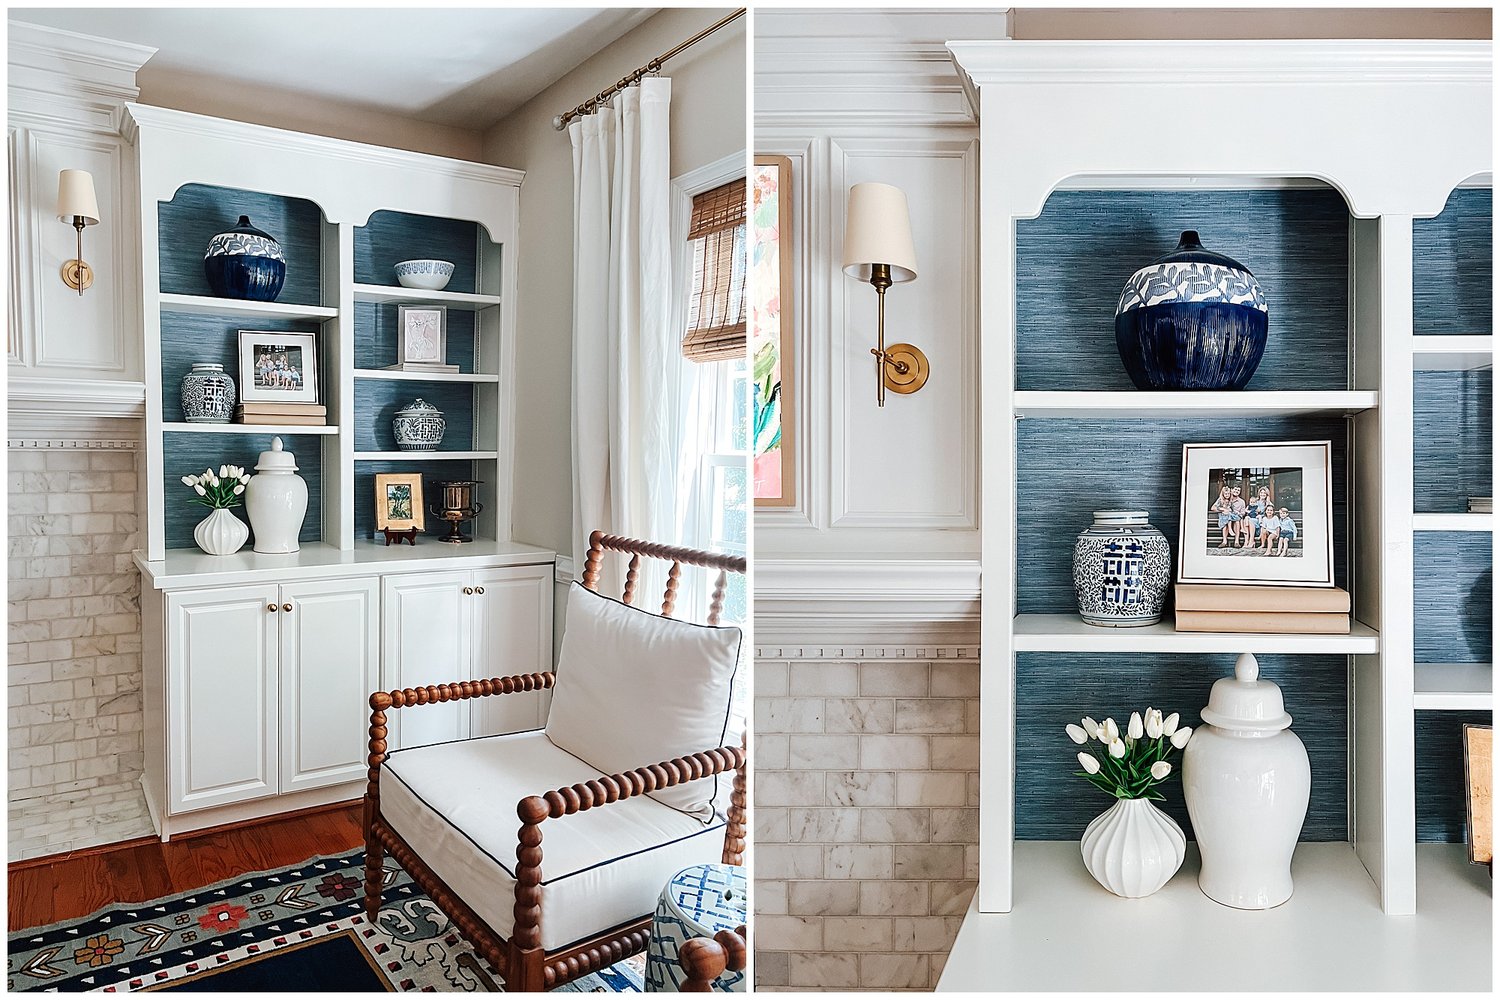
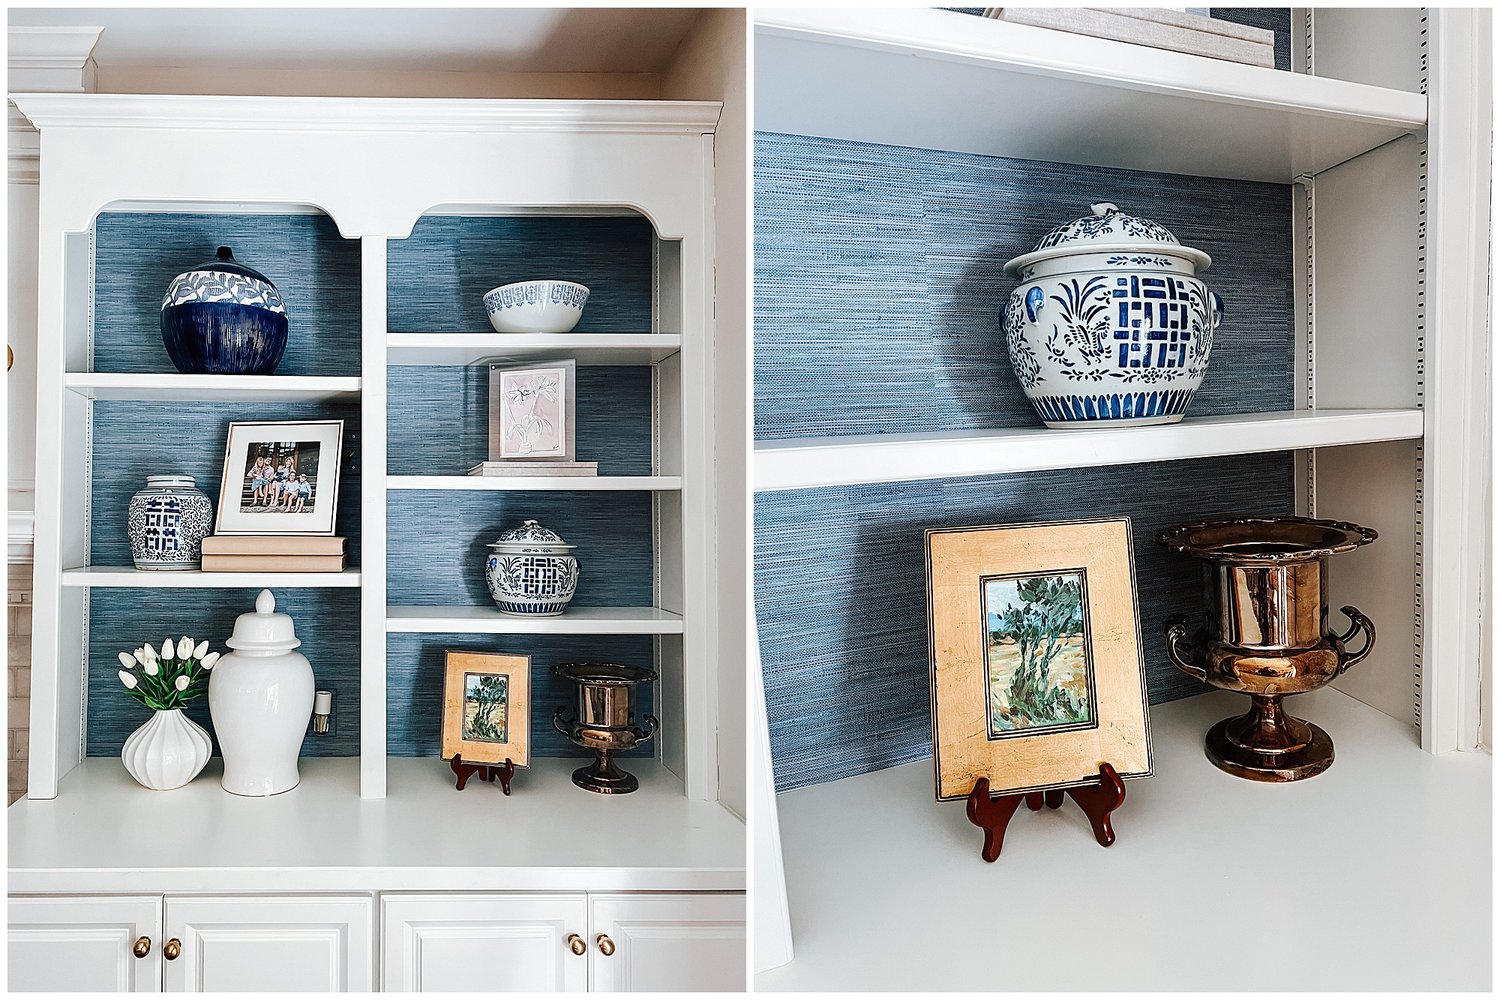
You can get a peek of the fireplace in the images below with our new marble tile and sconces. I will be sure to post more once the living room is complete!
Where to Buy It
Society Social recently announced that their first release of this wallpaper was such a hit that they are preparing to release another round next month. If you head to their website (linked below) you can sign up to be notified when the color of your choice is back in stock!
Update: As of October 24th, they have restocked their wallpaper and samples!
